
Fall DIY Wax Melts
Capture the Aromas of the Season with Fall DIY Wax Melts
Make incredibly easy fall DIY wax melts with essential oils and soy wax to fill your home with the most delicious aromas of the fall season.
With the biggest holidays of the season approaching, many of us are preparing our homes to welcome friends and family from near and far.
Nothing brings families closer together than gathering around the table for an incredible meal!
Especially in the cooler months at the end of the year when our instincts encourage us to “store up” for the winter. Yep, it’s not just the pumpkin spice that causes our cravings to soar for all the savory and sweet foods of the season.
Luckily, I’ve found a way to celebrate new and old traditions for an unforgettable season without adding any regrets to your waistline. That’s right, we can have it all – pumpkin pie, maple sugar pecans, and cinnamon apple dumplings.
This post contains some affiliate links for your convenience; read the full disclosure policy.
Take Full Advantage of Autumn’s Flavors and Scents with DIY Wax Melts
Yes, you can enjoy the most delicious harvest aromas and take advantage of every fall craving with easy candle wax melts!
Before the holiday season comes up, take 30 minutes to create your favorite fall flavors, like baked apples and cinnamon or fresh rosemary and pine, into homemade wax melts. Sometimes called candle tarts or warmer melts, they are extremely easy to make and completely customizable.
And I love the fact that there isn’t a container or a wick needed to make DIY wax melts. This makes them a great way to test and try out blending your own scents without investing in other candle making supplies.
No matter if you’re trying new scents or are completely new to candle making, these fall wax melts make great handmade gifts for teachers, neighbors, your family hairstylist, or anyone else you want to give a thank you to or remember during the holidays.
And they add the perfect touch to your home throughout the holiday season during family dinners, get-togethers, or anytime you want to meet a craving without a single calorie!
Related To: Farmhouse Candle Supplies
What is the best wax to use for wax melts?
I’ve found soy wax works well for making wax melts. It burns cleaner than paraffin wax without pollutants and toxins that come from paraffin, a gasoline by-product. Living in farm country, soy is grown up and down the valleys here, and I love supporting our farmers.
Plus, soy is a renewable resource, biodegradable, and cleans up with water. But you can also make DIY wax melts with beeswax. I plan to try it this winter, and when I do, I’ll share it here with you!
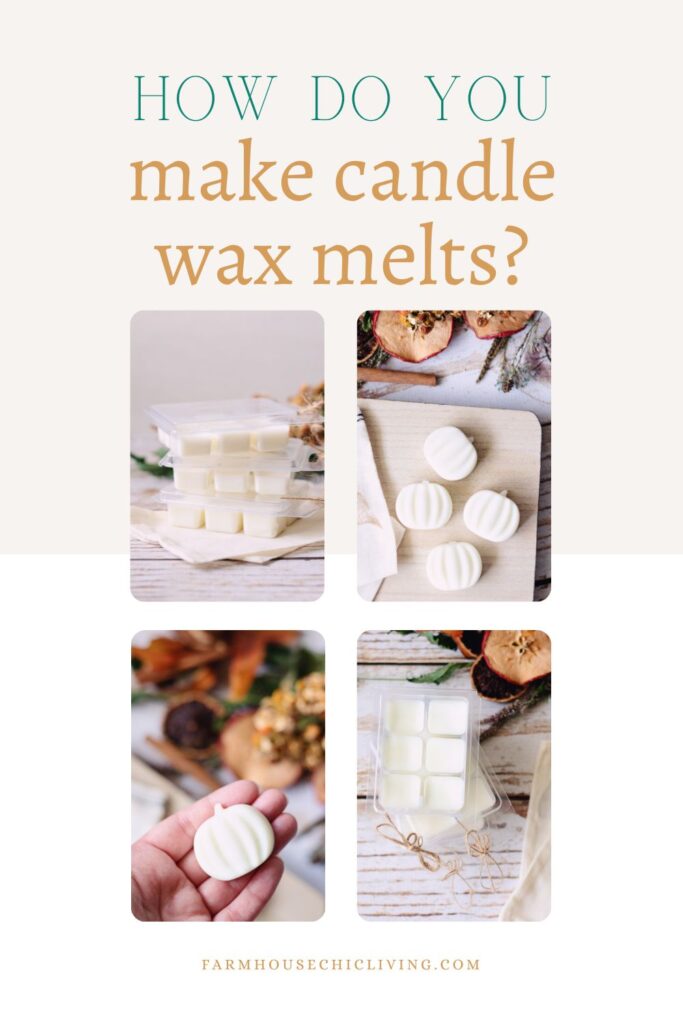
How do you make candle wax melts?
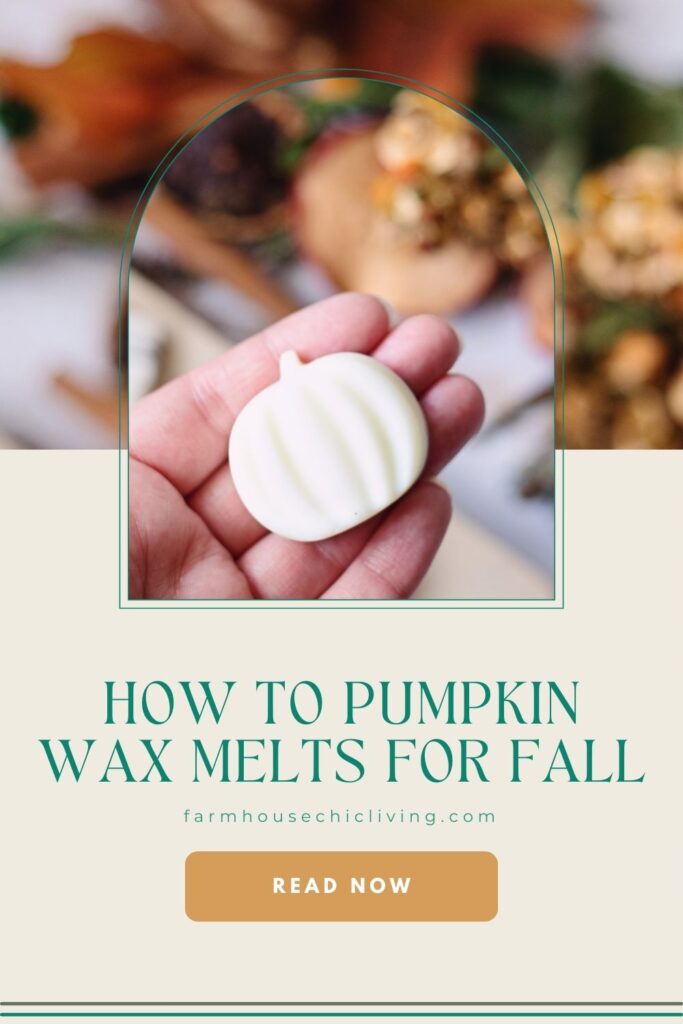
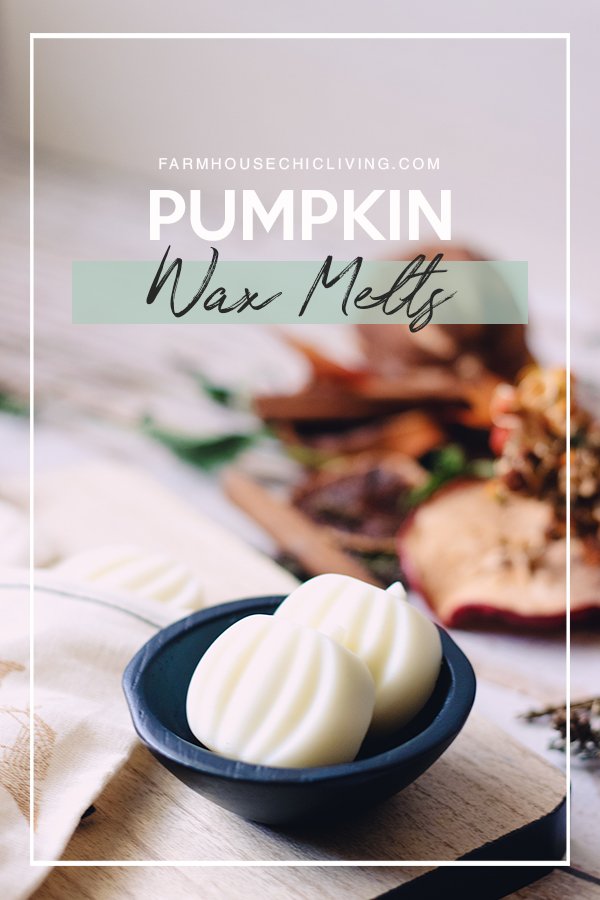
You can use silicone molds often marketed for soapmaking or candy making to create candle wax melts like the pumpkin silicone mold I used. They are usually less than $10, and you can use a mold over and over again.
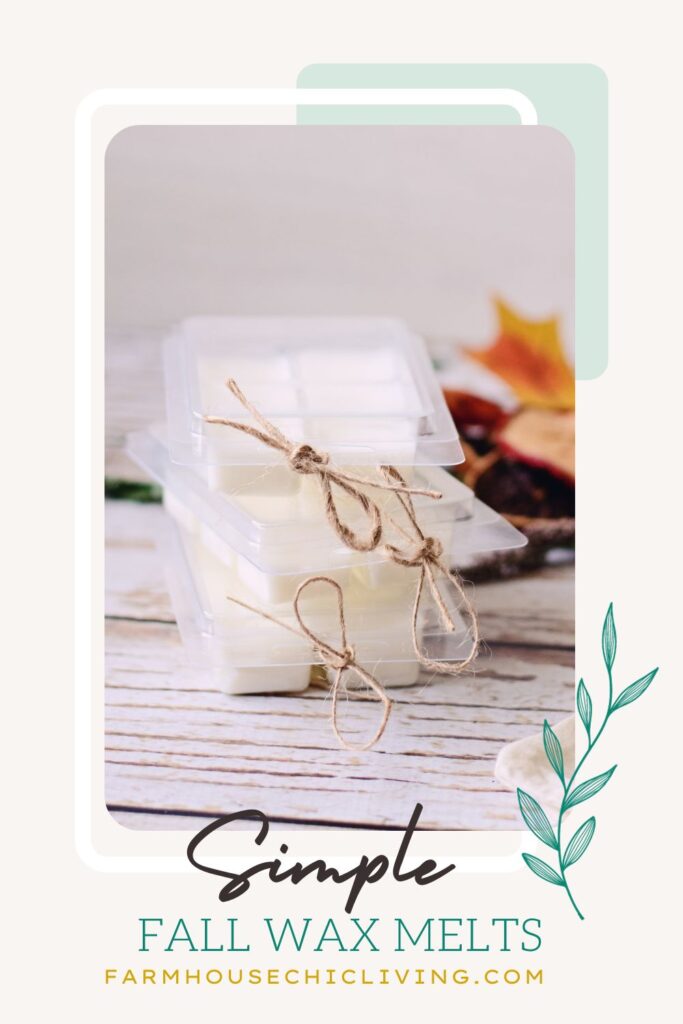
For a zero-waste option, metal baking tins work well for candle tarts. And a third option to make DIY wax melts are clamshell molds. These are exclusively designed to make candle wax melts to sell. They are likely what you are most familiar with for candle melts.
I was gifted several clamshell molds, and I’ve found them really easy to use. There’s nothing to pop out later and package or store in a container. They can simply stay in the tray as you remove one wax melt at a time to use.
I tied a few up with twine and tucked them into these muslin bags that I hand-stamped with pumpkins for fall. The clamshell molds fit perfectly inside! I also stamped these mini muslin drawstring bags with owls and filled each with two pumpkin wax melts.
Any option you choose to make DIY wax melts will be adorable, without a doubt!
And the next time you’re making container candles, you can simply pour extra wax into one of the options for a few bonus wax melts!!
Related To: Quick Start Guide to Candle Making
How Much Wax Do You Need To Make Wax Melts?
If you use a mold that doesn’t list the ounces anywhere, use these simple steps to measure the wax you’ll need:
- Carefully fill each mold cavity with water without overflowing into other cavities.
- Pour the water into a liquid measuring cup.
- Note the ounces and double it for the volume of soy wax flakes you’ll need.
This isn’t an exact science, but it certainly does the trick when you are working with vintage molds.
Creating Fall Candle Wax Melts
These easy fall DIY wax melts will have your guests begging you for the recipe. They are really the perfect fall treat to be enjoyed with the flick of a switch and a great addition to your fall festivities and holiday gatherings.
Wax Melt Supplies:

1 digital kitchen scale
1 candle thermometer
3 wax melt clamshell molds or 2 pumpkin silicone molds
1 candle melting pitcher
8 ounces soy candle wax
1.5 tablespoons fall essential oil blend
DIY Wax Melt Instructions:
1. Measure It
Use a kitchen scale to measure 8 ounces of soy wax flakes to make 3 wax melt trays, totaling 18 wax melts altogether or 2 dozen pumpkin candle melts. You can also use the steps above to find the right amount for your mold.
2. Melt It
To safely melt the wax, pour the measured soy wax flakes into a candle melting pitcher. Then, place the pitcher inside a large saucepan filled with 2 inches of water. Heat on medium to low heat with a gentle simmer at most, using the double boiler method. Stir often with a heat-resistant silicone spatula.
3. Cool & Scent It
Remove the pitcher from the heat immediately to prevent the wax from becoming too hot after melting. Clip a candle thermometer inside of the pitcher to watch the wax cool to 150°F.
Once cooled, add 1.5 tablespoons of your fall candle scent and stir constantly for 1 to 2 minutes to thoroughly incorporate.
4. Pour It
After adding the scent, carefully pour the wax into each cavity of your mold. If you are using clamshell molds, make sure to keep them open during the curing process. Before using a DIY wax melt, allow it to cure for 24 hours.
How to Use DIY Wax Melts:
Place a single candle wax melt into a tealight, plug in warmer, or tabletop wax melt warmer. I love this Rae Dunn-inspired plug-in warmer, and this farmhouse style wax warmer would be perfect in any room.
Whichever you choose, you’ll love the way the wax gently melts as it’s heated, releasing the fragrance into the air. And when the scent dissipates after many uses, you can empty it and add a new wax melt into the warmer.
MORE FARMHOUSE DIYS
- Easy Pressed Flower Candle Craft
- How To Press Flowers In A Book
- How to Clean Mattress Stains and Deodorize
- Wooden Egg Craft
- Easy Dried Orange Wreath
What fall aroma are you craving for your home this season? Is it spicy, sweet, woodsy, or all of the above? I’d love to hear your candle making plans; send me a DM on Instagram or tag #farmhousechicliving to share your wax melts. And don’t forget to pin these easy instructions to make DIY candle melts.