
How to Use a Microwave Flower Press
How to Use a Microwave Flower Press to Dry Flowers Quickly
Here’s how to use a microwave flower press to dry flowers quickly. I am amazed at the vibrant colors it creates!
I have a love for collecting and preserving flowers. Each season opens up the opportunity to preserve new flowers in a range of colors: Bluebonnets and tiny pink redbuds in the spring. Purple salvia and yellow sunflowers in the summer, for example. It can be thrilling to capture the colors and textures of flowers and plants each season offers.
Moreover, I enjoy creating DIY dried flower projects such as dried flower wax melts, suspending dried flower petals in soap, and homemade lavender sachets.
But when it comes to drying and pressing flowers, there are many slow ways, yet only a few quick ways.
This post contains some affiliate links for your convenience; read our full disclosure policy.
How do you press flowers quickly?
Let me first say; I love the look of flowers pressed the traditional way. But, sometimes, I’m impatient and want to use the flowers I’ve picked now versus in a few weeks. So, I wanted to know how to press flowers quickly.
This is what I found out –
First, I turned to my dehydrator. It works great for drying herbs from my herb garden in a day. And a dehydrator isn’t half bad at drying peppers and orange slices, either. As for flowers, the results were – meh. The dehydrator shrank the flowers a lot and twisted the petals. So they didn’t look pressed at all.
So, this put me on the hunt for another way to preserve flowers quickly. And in doing so, I discovered a microwave flower press. The large 9-inch Microfleur flower press looked incredible! But I wasn’t ready to shell out over fifty bucks to try it. So, I ordered this microwave press kit instead for less than twenty-five dollars. And guess what? It works – you can press flowers in the microwave! (I’m showing you my results with step-by-step instructions below.)
Related To: How to Harvest Lavender for Drying
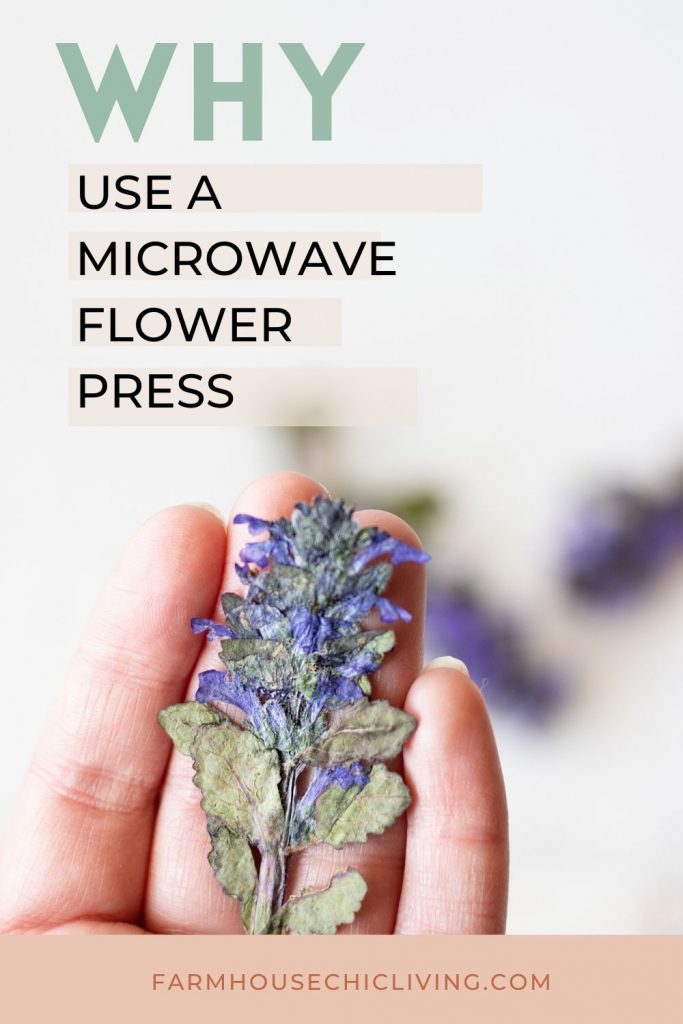
Why Use a Microwave Flower Press?
By using a microwave flower press, you skip the weeks it would typically take to press flowers in a book or wood press and instead have your flowers ready to use in just a few minutes.
In addition, you can preserve richer, vibrant colors! You see, the slow method of pressing flowers causes flowers to wilt more and increases the chances of a flower turning brown. Whereas this quick flower press retains more color and flattens even the fullest flowers – see my before and after photos above and below!
I’ve seen a few different ideas to preserve flowers in the microwave without a flower press like the Microfleur, but the results don’t look consistent. Plus, you can burn flowers very quickly in the microwave if you don’t know what you’re doing. In my opinion, a microwave flower press is the easiest way by far to dry flowers quickly.
Related To: How to Dry Apples in the Oven
What flowers work best for pressing in the microwave?
The list of twenty-five flowers, leaves, and herbs that I shared here is ideal for pressing. But I’ve found that fresh flowers and plants of low moisture work best for a microwave press. And it is generally a good idea to avoid white flowers because they tend to brown more easily when heated. Bright-colored flowers, on the other hand, retain their hues much better.
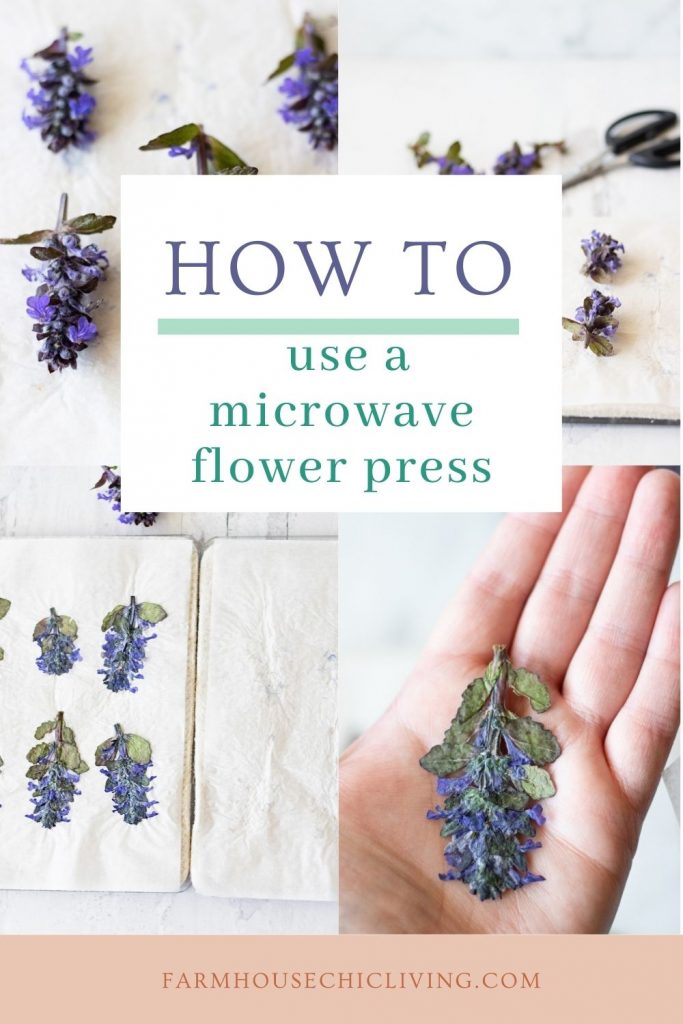
How do you press flowers in the microwave?
Follow these step-by-step instructions on how to press flowers in the microwave for great results! You’ll need a microwave flower press, scissors, tweezers, lining paper, and something to store your flowers in. I like to use glassine bags or sealed reusable bags like this. You can also start with a microwave press kit, as I did.
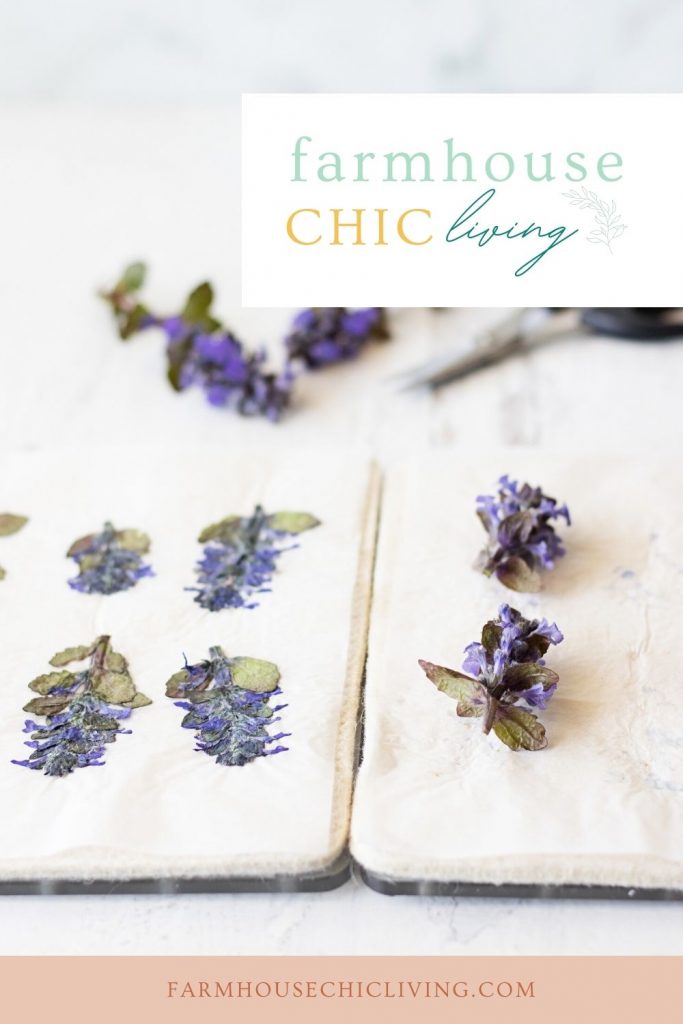
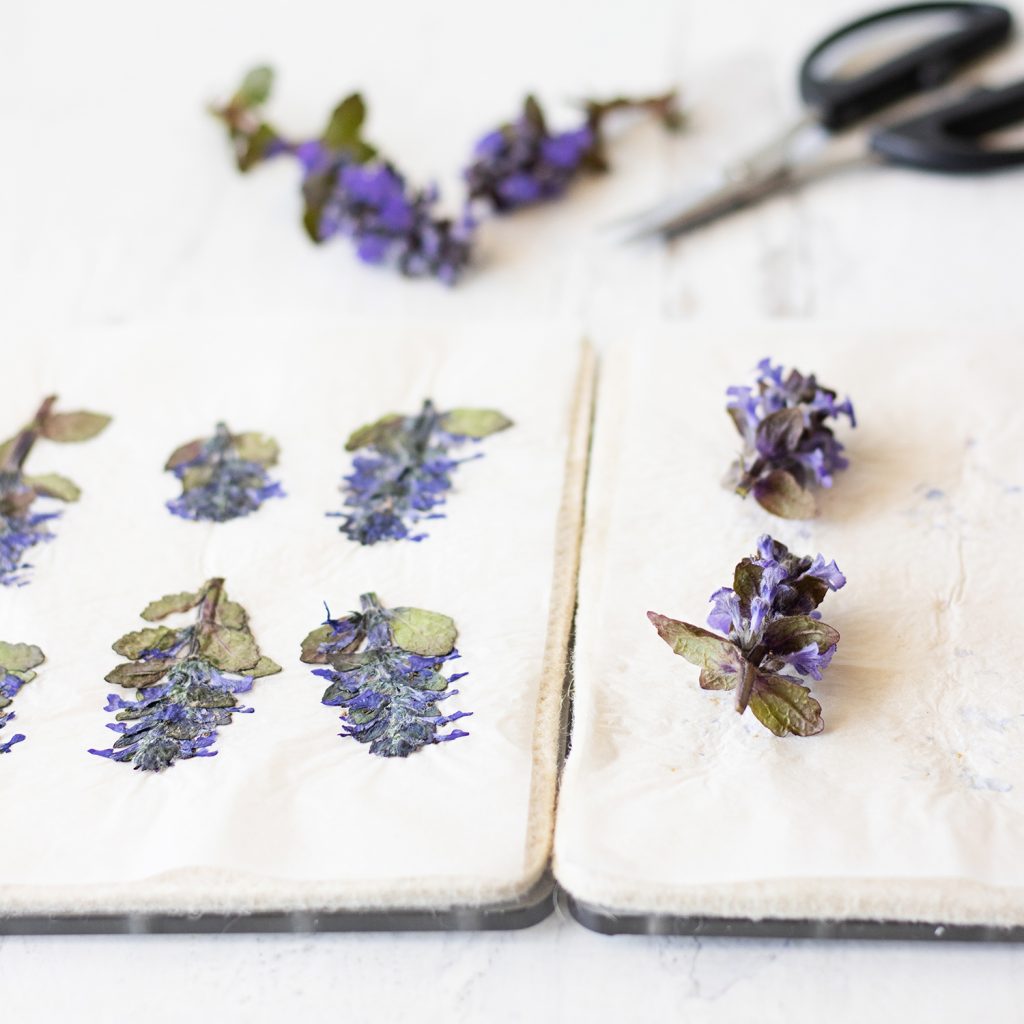
1. Start by creating your layers. Open your microwave and lay each outer drying plate of the microwave press down like an open book. Place a wool pad on top of each and then lining paper.
2. Now, the fun begins; preparing your flowers for pressing. Remove any dirt and debris from each flower. Decide if you want to clip off leaves, stems, or stamens to only press flower blooms. Or would you create mini bouquets or dry individual flower petals? (I find it fun to try all these ways to see what you prefer.)
However you intend to press your flowers, just make sure to lay them on the lining paper the way you want them to dry. Use tweezers to unfold and spread out petals carefully. And don’t overlap flowers – leave space in between.
3. After you have prepped and placed your flowers on lining paper, layer the other half of the microwave press on top – creating a sandwich like this:
- Outer Drying Plate
- Wool Pad
- Lining Paper
- Flowers
- Lining Paper
- Wool Pad
- Outer Drying Plate
Use the straps and clips to secure it together as snugly as possible.
4. Now, it’s time to microwave the flowers. It’s always a good idea to read the manual of your microwave flower press, especially when it comes to the level of heat it can withstand. Most will require you to reduce your microwave power level by fifty percent.
How long do you microwave pressed flowers?
Depending on the thickness of the flower, it will take 30 seconds to 2 minutes to completely dry. Therefore, you want to microwave the flowers in the press at 30-second intervals at a 50% power level.
You will know the flowers are dry when they feel papery and not sticky to the touch. The wool pad or drying plate will be damp after use. But, the flowers will be dry.
Once the flowers are dry, you can use them immediately!
MORE FARMHOUSE DIYS:
- Easy Pressed Flower Candle Craft
- How To Press Flowers In A Book
- How to Clean Mattress Stains and Deodorize
- Wooden Egg Craft
- Easy Dried Orange Wreath
Is it just me, or do you think the invention of a microwave flower press is genius? Not only can you press flowers quickly, but you also preserve their natural beauty for many years ahead.
Have you tried it? Please share your results in the comments below or Tag #farmhousechicliving on Instagram to share them with me. And don’t forget to pin these step-by-step instructions for pressing flowers in the microwave now.