
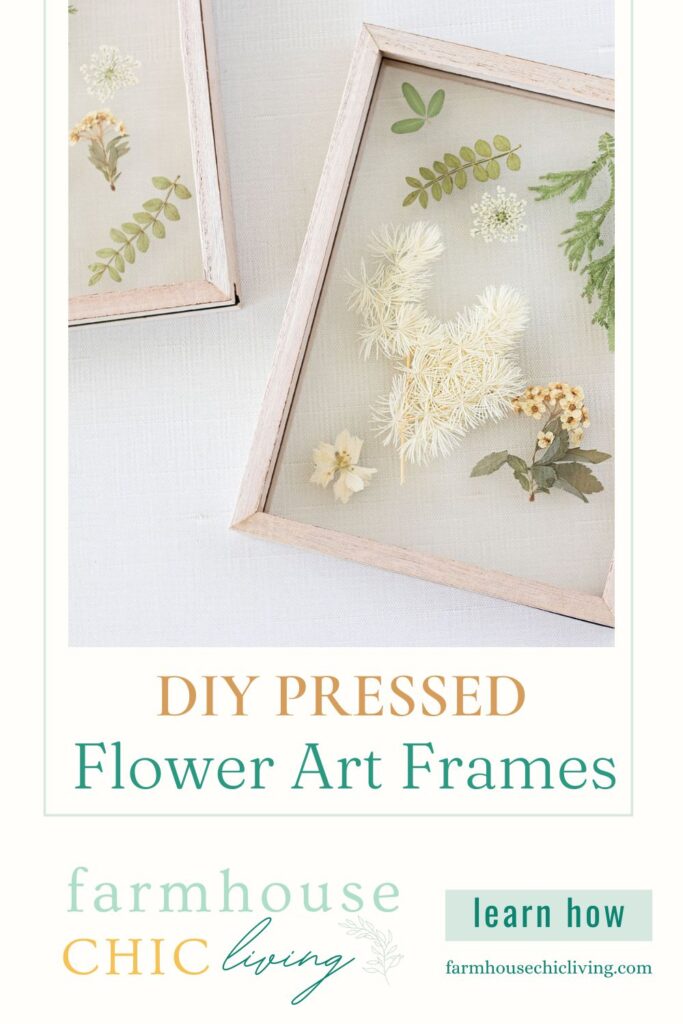
DIY Pressed Flower Art Frame
Farmhouse DIY Pressed Flower Art Frame
DIY pressed flower art frame for farmhouse wall art. Learn how to display pressed flowers with flower pressing techniques.
Gallery walls of framed family portraits, large monograms, or vintage prints always pack a punch, but what if you’ve exhausted the options in your farmhouse? That’s when I turn to pressed flower art.
I adore flowers blooming in our garden, hand-picked from the prairie and immersed in floating candles, overflowing a tall vase on the kitchen island, displayed in dried flower capsules, pressed flowers preserved in clear soap bars, or melted into dried flower wax melts. This farm girl can never have too many flowers in her life!
So I thought it was time I displayed some pressed flowers from my collection. And I have to say; this project is one of the best pressed flower art ideas!
These DIY pressed flower art frames bring to light the beauty of nature. Elegant and serene, the neutral soft hues and texture have a calming effect on any space you place them in. Therefore they can create a pleasing appeal for your bedroom, guest bath, or living room.
Start with my tips for pressing flowers, then learn how to display pressed flowers in timeless pieces in your farmhouse decor.
For your convenience, this post contains some affiliate links; read the full disclosure policy.
Four Flower Pressing Techniques
This DIY pressed flower project is simple and quick to make, but first, you need pressed flowers! You can buy flowers already pressed in sets of colors, like these, that match your farmhouse style.
Or you can pick flowers from your garden, wild-craft from nature, or preserve a flower bouquet with one of these four flower pressing techniques.
#1 Book Page Pressing
I started pressing flowers in my youth with this method of tucking flowers in between pages of books and journals. All it takes is to close the book or journal, place something heavy on top, and wait several weeks for the flowers to press flat.
#2 Wooden Flower Pressing
The traditional method of flower pressing brought to popularity during Victorian times uses a wooden press. It involves placing flowers between thin drying papers and sandwiching several layers between the wood mats.
Like book page pressing, the flowers take weeks to dry and flatten, but the outcome is beautiful. Read my steps on how to use a wooden flower press for the best results.
#3 Iron Pressing
This flower-pressing technique is quick! Place flowers between parchment paper and press firmly on a heat-safe surface with a dry, hot iron. Just be careful not to burn yourself or over-do-it and burn the flowers too.
#4 Microwave Pressing
This flower pressing technique has become one of my favorites for thick flowers. Because zapping flowers dry and flat in the microwave with a microwave press only takes a few minutes. Take a look at my before and after photos to see how well it works!
No matter how you press flowers, you’ll be able to create unique DIY pressed flower frames!
Related To: Quick Start Guide To Candle Making
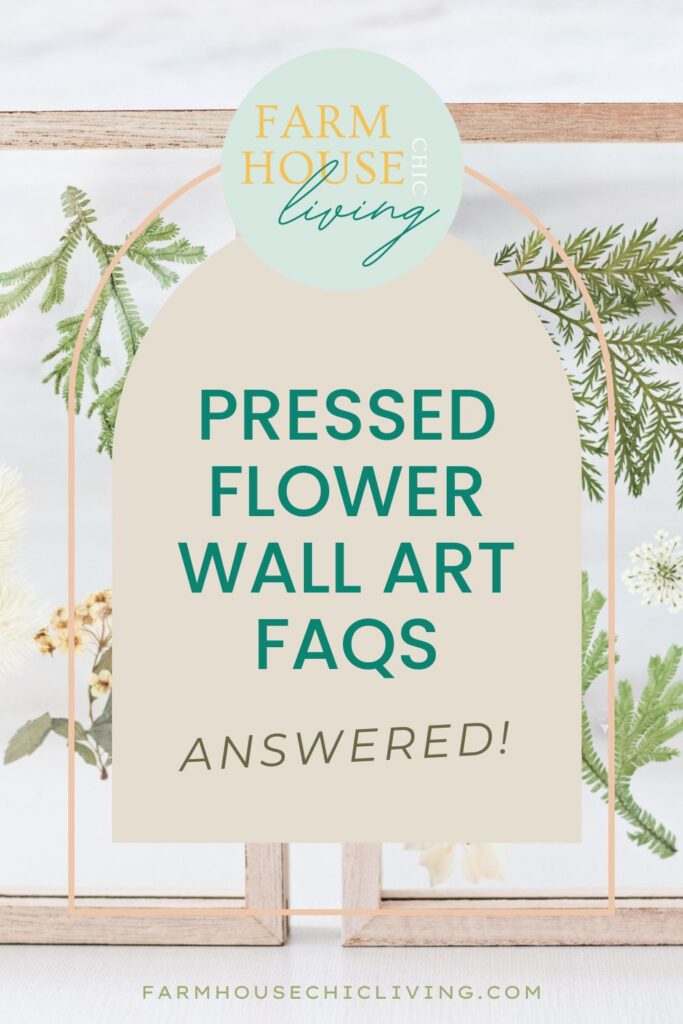
Pressed Flower Art Frequently Asked Questions
When you’re creating timeless press flower art pieces for your home, it’s common for a few questions to come up. These are the most frequently asked questions I received after sharing my DIY monogram pressed flower art.
How do you choose flowers?
Here are tips I find usual for collecting and preparing flowers for pressing. When framing flowers for wall art, consider how the flowers will lay in the frame, in a grouping, or in the composition you have in mind.
Can I put pressed flowers in a normal frame?
Most pressed flower art uses double glass frames or floating glass frames so light can filter through, and they can be viewed from either side. But you can put pressed flowers in a normal frame. When choosing a normal picture frame, I recommend using a neutral background for pressed flowers like linen fabric, watercolor paper, or handmade paper.
Do you have to glue pressed flowers in a frame?
I have framed pressed flowers with and without glue. The problem you encounter when not using glue is that the flowers will move. Each time you move or dust the frame, the flowers can shift. And depending on the width between the glass of the frame, all the flowers can slide down to the bottom.
So, it is best to glue flowers in place. But, not any glue will work. Instant glass glue dries fast and completely clear – perfect for a pressed flower art frame!
How long do pressed flowers last in a frame?
Pressed flower art frames will last for many years to come. To help the flowers retain their color, place art away from direct sunlight and moisture.
Related To: Farmhouse Lavender Garden Ideas
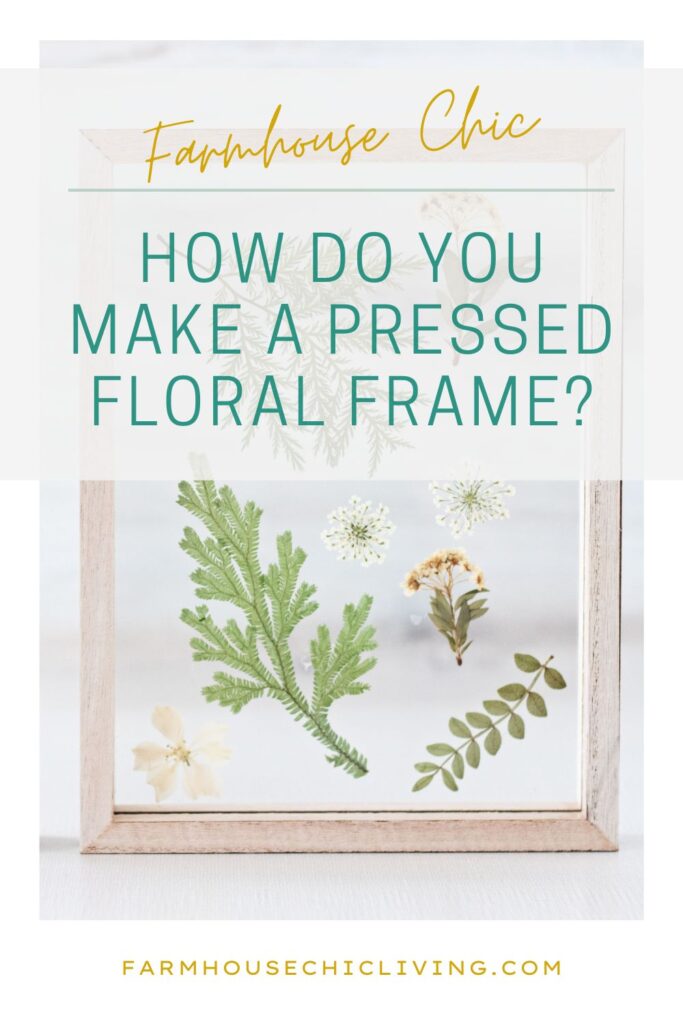
How Do You Make A Pressed Floral Frame?
Creating your artwork with pressed flowers is easier than it looks! Follow these simple steps to add a touch of nature to your home with a pressed flower wall art display.
Project Supplies:
Pressed Flowers
Scissors
Tweezers
Small Flat Paint Brush
How To Make A DIY Pressed Flower Art Frame
Before you begin, make sure your pressed flowers are completely dry. If they are not, your art could begin to develop mold.
- Slide out the glass panels from the frame and separate them.
- Use tweezers to carefully place pressed flowers on one glass panel in an arrangement that pleases the eye.
- Once you’ve landed on your design, prep the glass glue and lift the flowers individually to apply small strokes of glue in the flowers’ shape onto the glass.
- Place the flower down into the glue with tweezers and gently press to create a bond. Continue until you have glued each piece. (There’s no need for a long drying time if you use the glass glue since it dries in 60 seconds or less.)
- After securing each pressed flower or leaf, place the second glass panel on top like a sandwich. Then carefully slide the panels together into the picture frame.
YOU MAY ALSO LIKE:
- Easy Pressed Flower Candle Craft
- How To Press Flowers In A Book
- How to Clean Mattress Stains and Deodorize
- Wooden Egg Craft
- Easy Dried Orange Wreath
Now you can create a DIY pressed flower art frame for your farmhouse wall art. Their timeless appeal makes a beautiful statement piece and the perfect one-of-a-kind gift.
Pin these flower pressing techniques and steps for how to display pressed flowers on your Pinterest Craft Board. Tag #farmhousechicliving on Instagram to share your home with us.