
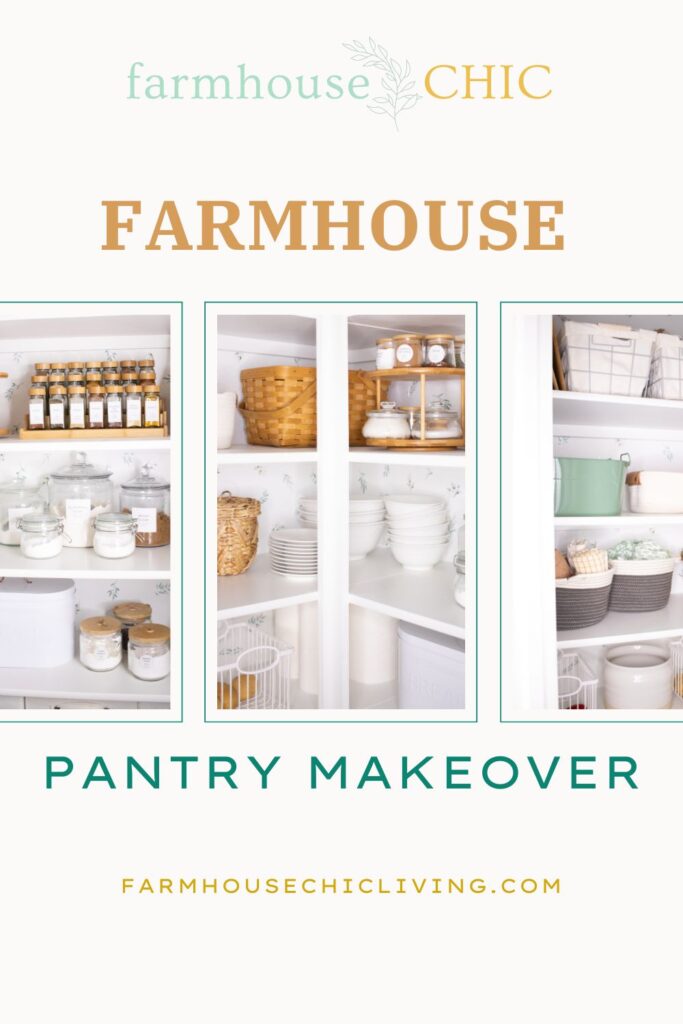
Farmhouse Pantry Makeover
Our Farmhouse Pantry Makeover Before and After
I’m sharing our farmhouse pantry makeover with before and after photos of our corner pantry with small pantry ideas and tips for pantry storage.
Is your kitchen pantry a total mess? Mine certainly was. I put so much thought into building our farmhouse kitchen, but somehow completely neglected the pantry.
It became an embarrassment when friends or family came over. Every time I opened my pantry door, the chaos within was a stark contrast to the serene style of the rest of our home.
So, I’d try to go in and shut the door behind me. While our corner pantry is a walk-in pantry, with the amount of stuff I stacked up in there, it wasn’t very roomy.
On top of that, no one except me could find anything in there. So, I got stuck rummaging around for everything! A can of diced tomatoes, ground cinnamon, the pasta maker, or maple syrup, I knew put it in there somewhere. In fact, the only thing our pantry was lacking was organization.
If scurrying to find that elusive spice jar or canned good sounds familiar – you’re overdue for a pantry makeover!
But take heart because I know an organized farmhouse pantry is within reach. And I’m here to prove it with my pantry before and after photos. (Who doesn’t love a good before and after?) I’m showing you how I went from chaos and clutter to order and charm.
You’ll walk away with pantry ideas for cleaning, organizing, and styling to transform your kitchen pantry! No matter the size!!
This post contains some affiliate links for your convenience; read the full disclosure policy.
Finding Inspiration and Planning Your Farmhouse Pantry Makeover
I adore farmhouse living and the charm of our expansive kitchen island and coffee bar that welcomes everyone. But, truth be told, our pantry was a chaotic nightmare. The overly cluttered shelves and lack of organization were driving me up the wall.
It was high time for a change. So, I decided to start planning a farmhouse pantry makeover. And that is the first step to yours.
Step 1: Pantry Inspiration and Planning
Gather Ideas: The easiest way to gather ideas is to create a Pinterest Board to curate a collection of inspiring ideas for pantry storage, organization tips, and the overall look you’re after.
Another option is to start exploring various farmhouse pantry ideas from magazines like Modern Farmhouse Style. Or you can save your favorite pantry photos to a folder on Instagram.
Measure Twice: This first step is also the time to take accurate measurements of your pantry space to plan the layout and storage solutions effectively. Don’t make my mistake – I had to return storage bins and order new ones because they didn’t fit. So, take time to measure and consider factors like shelving, drawer dimensions, and available wall space.
Select Colors and Style: Next, decide on a color palette and style that aligns with your farmhouse kitchen theme. Collect paint samples or wallpaper swatches to visualize the look.
Incorporate Functionality: Explore creative ways to balance style and functionality. Search for pantry storage solutions, container options, and labeling techniques. I also created an Amazon wishlist to compile options for storage containers, cabinets, spice jars, and even decor. (I’ll be sharing my choice below.)
By gathering all these pantry ideas, I was able to curate a collection of pretty things that spoke to my heart and would work for our pantry space and needs.
Cleanout and Preparation for Your Farmhouse Pantry Makeover
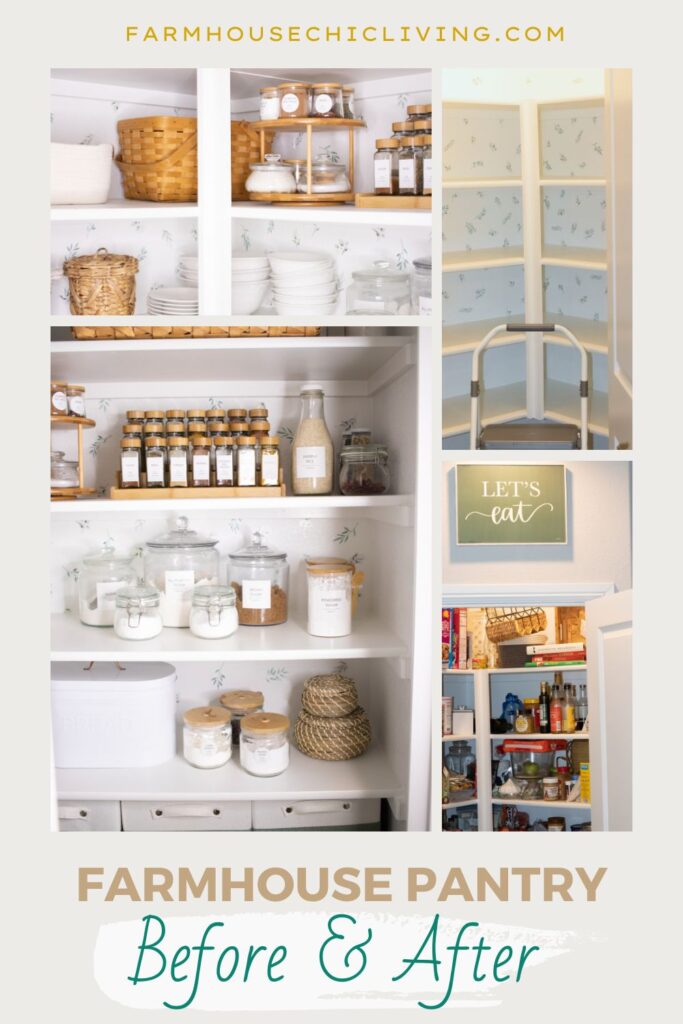
I know you’re thinking cleaning out the pantry is going to be an uphill battle. But, with inspiration in hand, I tackled the mess head-on. It wasn’t just about tossing expired items or rearranging things – it was a complete cleanout.
As you can see in the photos, I emptied the pantry! As I stood amid a sea of “God only knows what”, I already felt a slice of success. And you will, too, after completing this step.
Step 2: Cleaning and Preparation
Clear the Clutter: Begin the cleanout process by decluttering your pantry. Discard expired items, stale chips, and the Easter candy from months ago. Then donate non-perishables you won’t use and cooking equipment you’ve never used. (It happens to all of us.)
Next, start consolidating duplicate items. Then put away things that don’t belong in your pantry in the first place – like a random Christmas ornament or school art project.
Prep the Space: After the initial declutter, empty the pantry entirely and clean the shelves, floors, and walls. Address any repairs or fixes needed, like tightening loose screws or fixing wobbly shelves.
Paint or Wallpaper: If you plan to paint or add wallpaper, this is the stage to do it. How can I make my pantry look pretty? Choose colors and patterns that complement your farmhouse kitchen theme. I touched up the white paint on our shelves. Then I combined these easy-to-apply rustic country leaves wall decals with these larger leaf decals. Their shades of green matched our kitchen perfectly!
The process was a tad challenging to begin, but it was well worth it. And repainting and adding a touch of farmhouse charm through wallpaper was the icing on the cake in our pantry makeover!
Related To: Farmhouse Cleaning Tips
Organizing Your Farmhouse Pantry with Style and Efficiency
With the space cleaned and your palette of inspiring pantry makeover ideas at ready, it’s time to organize! Start by making a list of your must-haves and another list of what could go in a kitchen cupboard instead. Then let grouping like items be your mantra and put your DIY skills to use, creating labels and sewing basket liners.
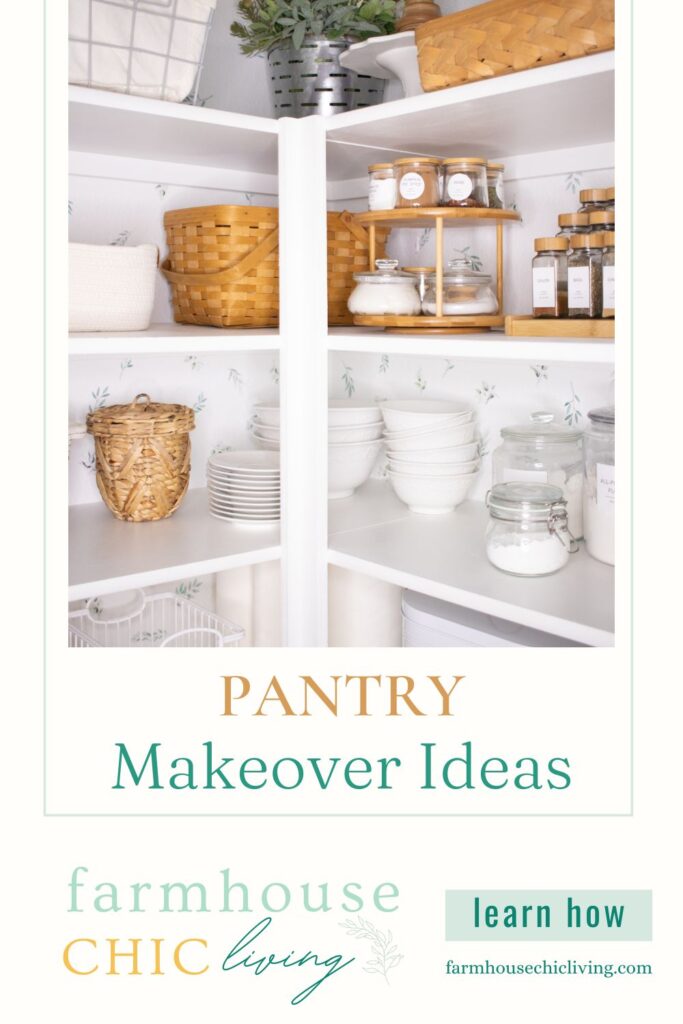
Group Like Items: The best way to organize a pantry is by grouping similar items together. This makes everything easier to find, enabling you to access what you need without rummaging through the entire pantry.
I arranged my staples by grouping pasta and rice into one storage bin, baking ingredients in another, and so on. I was able to fit six of these bins perfectly on the bottom shelves of our pantry. And thankfully, they hold a lot.
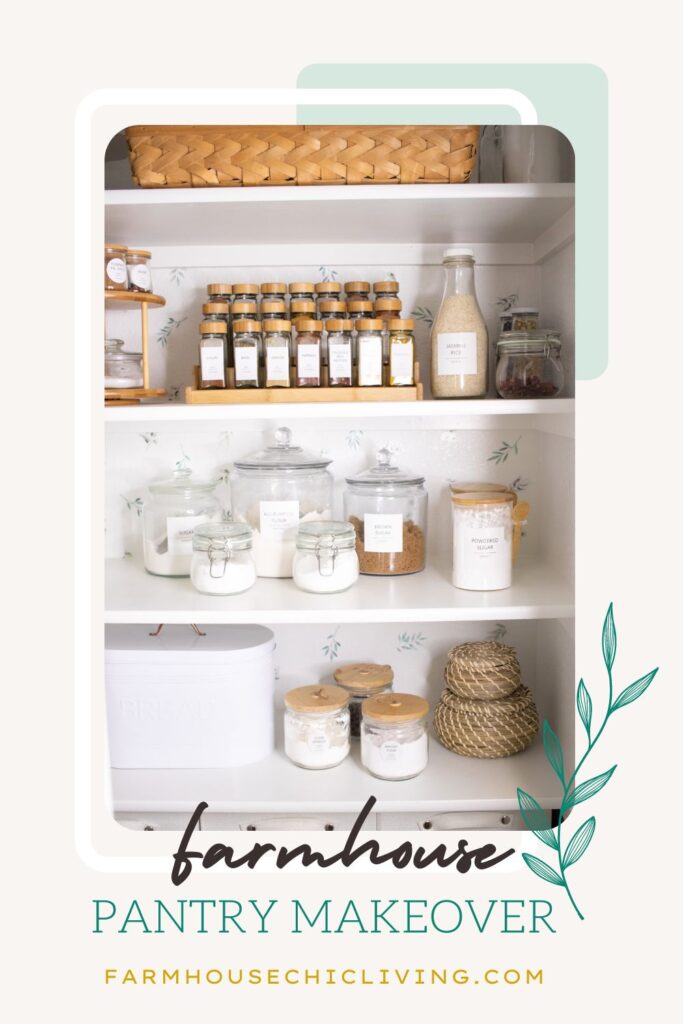
Utilize Containers and Labels: Shop your home for baskets and bins you can use in your pantry. I added a few fabric liners to metal baskets with contents I didn’t want to see. Then I invested in clear containers for our baking essentials and quality spice jars. I bought these glass spice jars with bamboo lids that came with labels!
Next, label containers and baskets as you see fit for quick identification. I choose these labels to not only keep things organized but also add a touch of charm. Find DIY label ideas here.
I also repurposed glass yogurt jars to hold larger whole spices with these wood lids. I’m contemplating the splurge on these metal labels for our storage bins.
Prioritize Accessibility: Many overlook this step to consider what do you need within arms reach. Items you use most frequently should be placed at eye level or within easy reach.
Store less frequently used items higher up or lower down. For example, the large basket you see on our top shelf above the spice jars stores refills for my ziploc bag organizer and dispenser for aluminum foil, plastic wrap, and parchment paper.
And I finally used the cupboards above our stove and fridge for things I occasionally use, such as the dehydrator and party supplies.
And you have little ones; it’s also a good idea to put what you want them to be able to reach at their level. I filled a tote on our lower shelf with my daughter’s small snack bowls and cups. Then next to it, I filled another tote with apple sauce packets (I know homemade is better), raisin boxes, granola bars, and other healthy snack options. This allows her to fill her own cup with water and choose a snack without the need for help.
Accessibility, grouping, and labeling are all key factors in creating an organized pantry!
Related To: Best Farmhouse Pantry Labels and Ideas
Bringing Your Farmhouse Pantry Makeover to Life
Your farmhouse kitchen pantry is meant to simplify life, not complicate it. It’s time to put it all in place and kiss the chaotic abyss goodbye!
Put Everything in Place: Once you’ve grouped items, filled bins, and labeled your pantry jars, start placing them back on the shelves according to your plan. And get rid of bulk by removing packaging when possible.
Use space-friendly tools like a spice rack or a lazy susan to make good use of your space.
Final Touches: Arrange items that double as decorative touches, like stacking cake stands or rolling kitchen linens into soft baskets. If your pantry has room, add a few things among the baskets and hang wall art.
Get The Look

Our farmhouse pantry makeover was a remarkable transformation for our family. Not only do we have a more organized kitchen, but it has also saved me from the frantic search for that elusive ingredient.
My husband and both agree overhauling the pantry has made cooking and baking more enjoyable. Our pantry has made a 360 from an embarrassment to something I’m proud of and eager to share. I know you’ll feel a load of satisfaction when you makeover your farmhouse pantry too!
YOU MAY ALSO LIKE BLOCK:
- Flower Garden Soap Bars DIY
- Pressed Flower Vase DIY
- Farmhouse DIY Dough Bowl Candle
- Easy Lemon Meringue Pie Soap Recipe
- How To Dry Orange Slices
Pin these farmhouse pantry makeover ideas to your Pinterest inspiration board and Tag #farmhousechicliving on Instagram to share your ideas.