
Americana DIY Wax Melt Stars
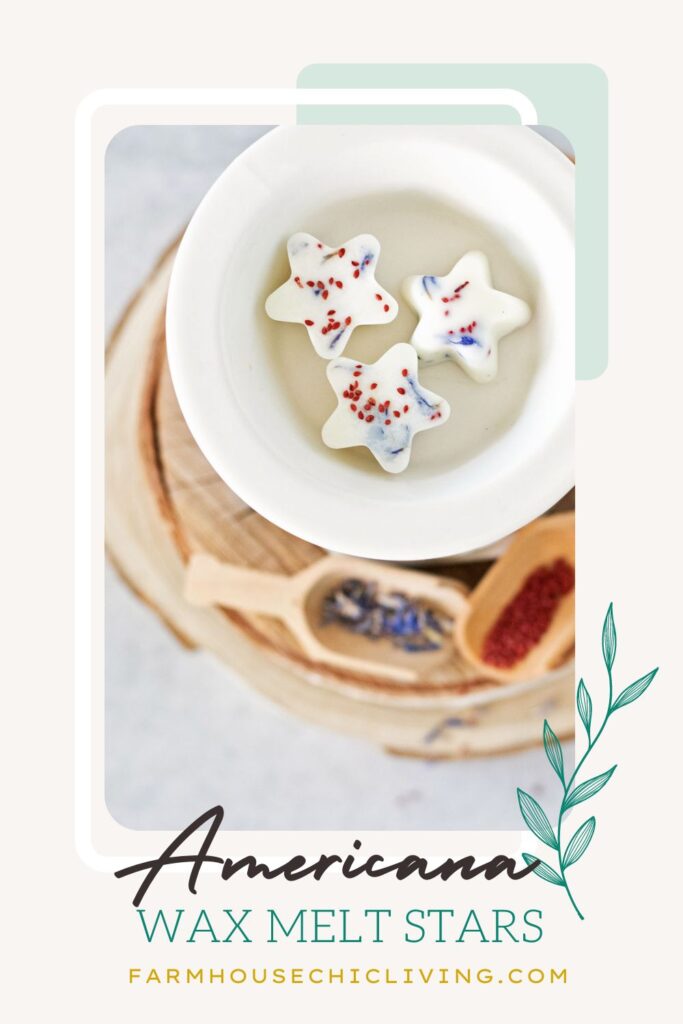
Americana DIY Wax Melt Stars In Red, White, And Blue
Create Americana DIY wax melt stars in red, white, and blue with my quick steps for how to make soy wax melts!
Living amidst the beauty of the countryside, where fields of corn and soybeans quilt the landscape and aging barns tell stories of yesteryears, I find myself reflecting on the hands that built our nation – barn by barn, bushel by bushel. In these quiet, rural moments, there’s an innate desire to celebrate our patriotic spirit with the colors of the flag: red, white, and blue.
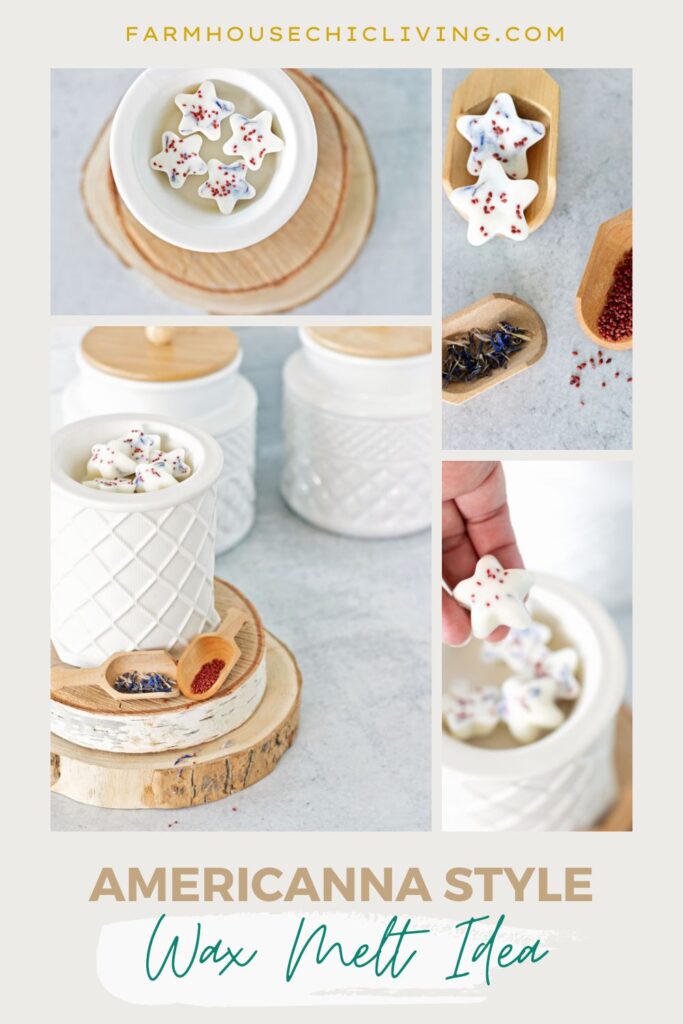
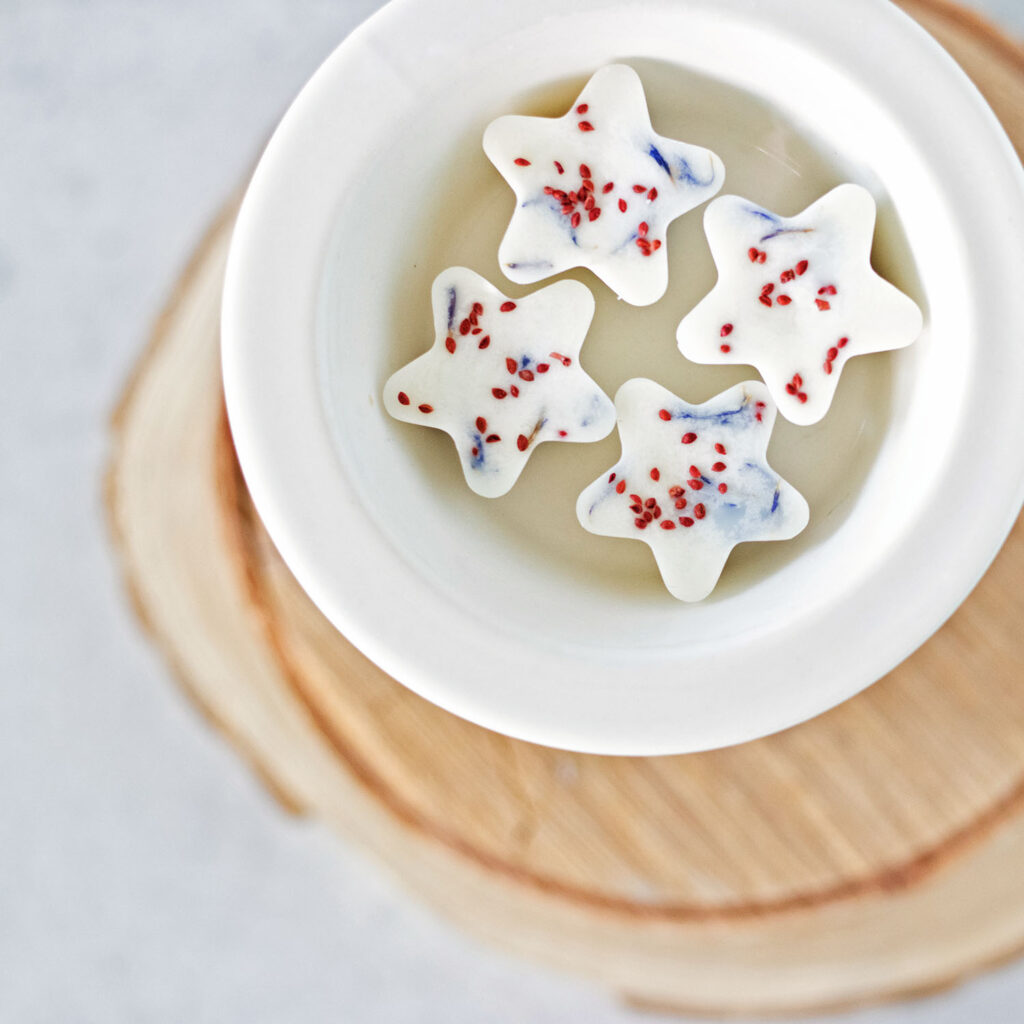
And what better way to honor our stars and stripes than with Americana DIY wax melts? These little white stars symbolize patriotism, dotted with red and stripes of blue.
If you’re thinking, aren’t wax melts just candle wax? Well, you’re absolutely correct! Wax melts are basically wickless, container-free candles.
It’s their simplicity that makes wax melts so fun to craft! By adding just a few ingredients to homemade wax melts, we can create a patriotic flair with a captivating scent.
Learn how to make wax melts with my step-by-step instructions to craft a piece of Americana that will fill your home with warmth, fragrance, and the spirit of red, white, and blue!
For your convenience, this post contains some affiliate links; read the full disclosure policy.
How long do wax melts last?
Just about every time I share a wax melt recipe, I get asked, “How long do wax melts last?” In my experience, it all comes down to these two things:
- How much scent you put in the wax melts
- How you use wax melts
Because candle melts don’t require a wick, flame, or container, most candle problems don’t hamper them. This allows us to have a higher fragrance load, meaning we can add more scent.
Are wax melts stronger than candles?
Because wax melts can have a higher fragrance concentration than candles, they will produce a stronger fragrance than an ordinary scented candle.
And the way in which we use wax melts can also produce a stronger scent!
How To Use Wax Melts
A wax melt can be placed in a tea light warmer or an electric wax warmer. Each will melt the wax and release the fragrance.
(If you’re after a strong scent, opt for an electric wax warmer for a more consistent temperature.) No matter your choice, follow these steps to make wax melts last longer (Step 3 is key).
Step 1: Choose a stable surface. Then, plug in an electric wax warmer and switch the heat on. Or place a tea light candle inside a tea light warmer and light it to begin heating.
Step 2: Place one or two wax melts in the basin above the heat source, depending on the wax melt size and the size of your basin.
As the wax melts, the candle wax will melt and emit the fragrance.
Step 3: This step is vital if you want your wax melts to last longer! When you first smell the wax melt scent filling your space, turn off the warmer or extinguish the tea light.
This will not stop the aroma; you will still smell it as the basin and wax slowly cool and the wax becomes solid again. You will, in fact, avoid burning off the scent at too high a temperature.
Repeat these steps when the scent dissipates without replacing or adding another wax melt for days!
Related To: Quick Start Guide to Make Candles at Home
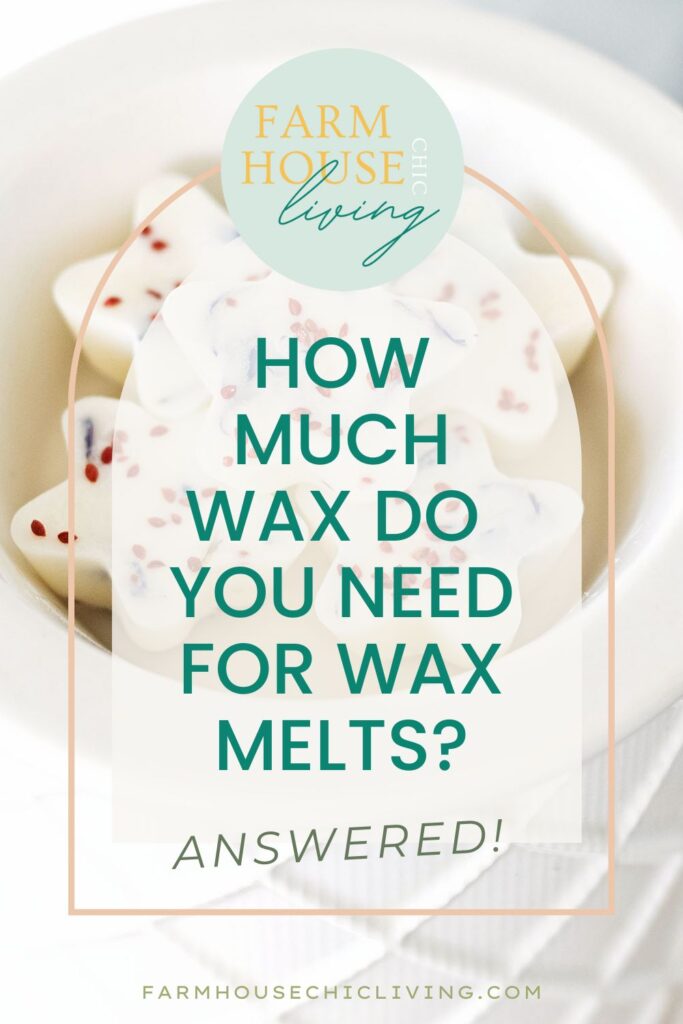
How Much Wax Do You Need To Make Wax Melts?
The trick to figuring out how much wax you’ll need is easy! No matter what silicone mold you choose to make wax melts in, you can use this candle-making tip to determine the amount.
First, check the listing details if you purchased your silicone mold online. Sometimes, they include how much volume each cavity holds. Then, you can multiply that amount by how many candle melts you want to make.
On the other hand, if you don’t have a reference to start with, fill one of the silicone mold cavities with water. Then, pour the water into a liquid measuring cup. If your volume is an easy ⅛ ounce, you can multiply that by the amount of candle melts you wish to make.
Or if your silicone mold is like my star mold and doesn’t land on an easy-to-read amount. Place the liquid measuring cup on a kitchen scale, tare the weight, and pour the water from the mold to measure.
The star silicone mold I used held 0.16 ounces in each star. So, I needed 1.5 ounces of soy wax to make all 10 stars.
Note: This isn’t an exact science because candle wax is more dense than water, but it certainly does the trick!
Related To: Farmhouse Cranberry Floating Candle Centerpiece

Creating Soy Wax Melts With American Spirit
Bring a touch of Americana into your home with these steps to creating Americana wax melts. Each time we use one, you’ll be reminded of the enduring spirit that defines our great nation.
Soy Wax Melt Supplies:

- ¼ teaspoon blue cornflower
- 1 pinch dried cranberry seeds
- 1.5 ounces soy wax for wax melts
- 20 drops juniper essential oil
- 20 drops lemongrass essential oil
- 1 star-shaped silicone mold
- 1 infrared thermometer
- 1 digital kitchen scale
How To Make Wax Melts
I recommend using microwavable wax because we need such a small amount of wax. This pure soy wax made right from the soybean fields in America is designed for creating wax melts!
These instructions are detailed for this wax, so if you choose another wax, follow the instructions from the manufacturer.
Step 1. Prep & Add Botanicals
Prepare your candle mold by spraying it with rubbing alcohol and wiping it clean. Once dry, evenly sprinkle 1 pinch of dried cranberry seeds between each star cavity. Repeat to add ¼ teaspoon of blue cornflower petals throughout the stars. Each will retain its color in the candle melts!
Step 2. Measure It
Use a liquid measuring cup on top of a kitchen scale to measure 1.5 ounces of soy wax beads to make 10 wax melt stars. Or use the steps above to find the right amount for your silicone candle mold.
Step 3. Melt It
Place the soy wax inside the liquid measuring cup inside a microwave. Melt wax for two intervals of 30 seconds each. Stir as needed to melt the wax fully.
Step 4. Cool & Scent It
Remove the liquid measuring cup from the microwave and check the temperature of the wax with an infrared thermometer.
Once the wax has cooled to 125 degrees, add 20 drops each of juniper essential oil and lemongrass essential oil. Then, stir slowly for 1 to 2 minutes to thoroughly incorporate.
Step 5. Pour It
Wait for the wax to cool to 115 degrees, then carefully pour the wax into each cavity of your mold. Before using a DIY wax melt, allow it to cure for 24 hours.
MORE FARMHOUSE DIYS:
- Easy Pressed Flower Candle Craft
- How To Press Flowers In A Book
- How to Clean Mattress Stains and Deodorize
- Wooden Egg Craft
- Easy Dried Orange Wreath
I invite you to join me in crafting Americana DIY wax melts infusing fragrant wax with the colors of our nation’s flag. They’re a fun celebration of our heritage and a reminder of the enduring bonds that unite us all!
Pin these easy techniques on how to make wax melt stars red, white, and blue! Tag #farmhousechicliving on Instagram to share yours.